


Install NetSync for Windows
Install NetSync on your computer :
- Download NetSync app from our website.
- Once downloaded, execute program
- Follow configuration Wizard as shown below.
Note : We do not advise to launch installer "As an administrator".
Installation wizard
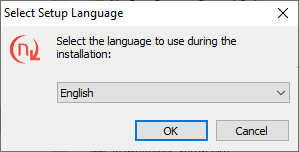
- Select language then click OK
- Installation wizard starts, then click on Next
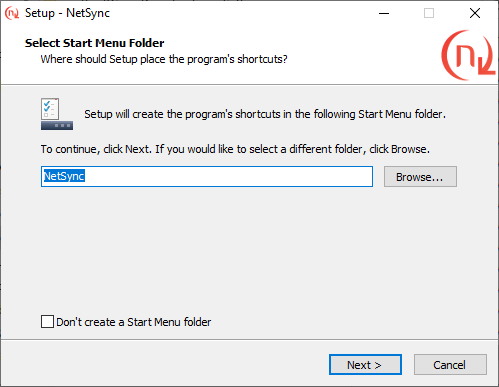
- Installer indicates location where folder will be created. Specify another location or click Next.
- Click Next one more time to add a shortcut on desktop.
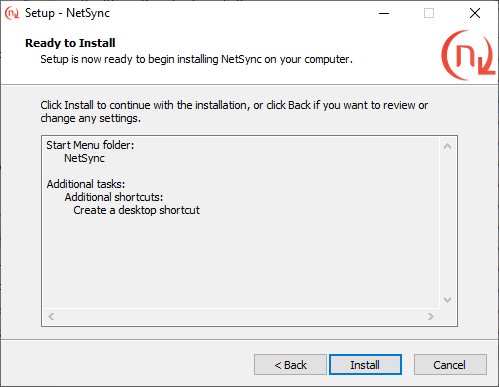
- Select Install and Finish.
Configuration wizard
At first start, configuration wizard displays (as shown below).
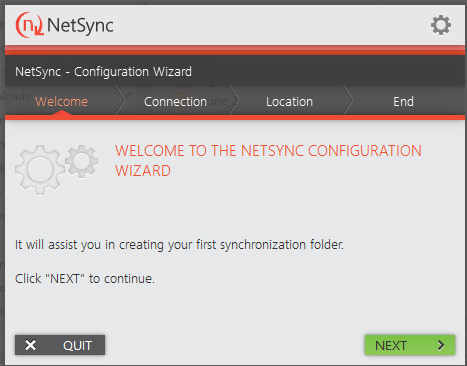
NetSync configuration wizard
- Click Next,
- During Connexion step, type address of platform and your credentials.
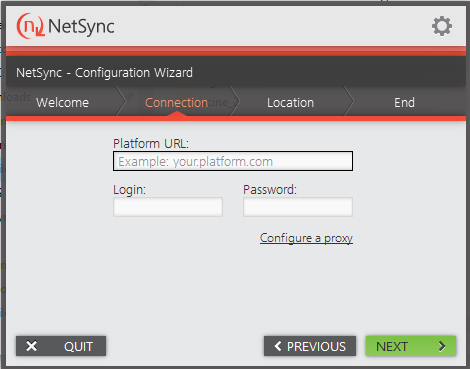
- Careful if you use an external identity provider as Office365, Azure or an account with double authentication set on it. if so, then you will have to use Application password.
- Click Next,
- In the next step Location, add your first synchronization task.

- then select platform folder and local folder to be synchronized.
- You will be able to add some more tasks after that.
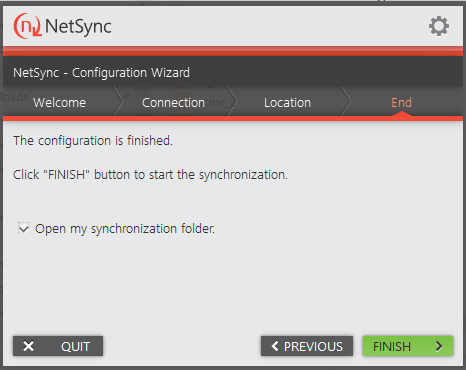
- Click Next then Finish.
Notes
➔ For Service Mode installation, please read dedicated webpage.
➔ If NetSync icon is not permanently shown in taskbar, you can force display from Windows, please check dedicated webpage